Arrow Shaft Sanding Block Project
Silent Thunder Ordnance
This project is a quick and easy way to make a useful tool for both hand and power sanding of arrow shafts. We had a couple questions about this pertaining to our Manchu Arrow Project, so decided a quick illustrated guide would be a good addition. Why use this tool rather than simply holding the abrasive paper with your bare hand? A couple reasons. First is arrow precision. A raw spun shaft isn't perfectly straight and smooth, and hand sanding isn't perfect. Using a straight block will both even out the shaft and prevent you from hand sanding new high and low points into the arrow. This isn't a new technology, grooved stones used for the manufacture of arrows like this have been used for thousands of years. Second, it makes it much easier to add in precision tapers. Third is heat. Both manual and power sanding generate a lot of it, and this provides some good insulation to your hand allowing you to go harder and longer. Fourth, and finally, this reduces catch-failures. A plain piece of sandpaper has a tendency to wrap around arrow shafting, gripping it more tightly, and potentially breaking it or injuring the operator. A block such as this prevents that from happening by providing structure.
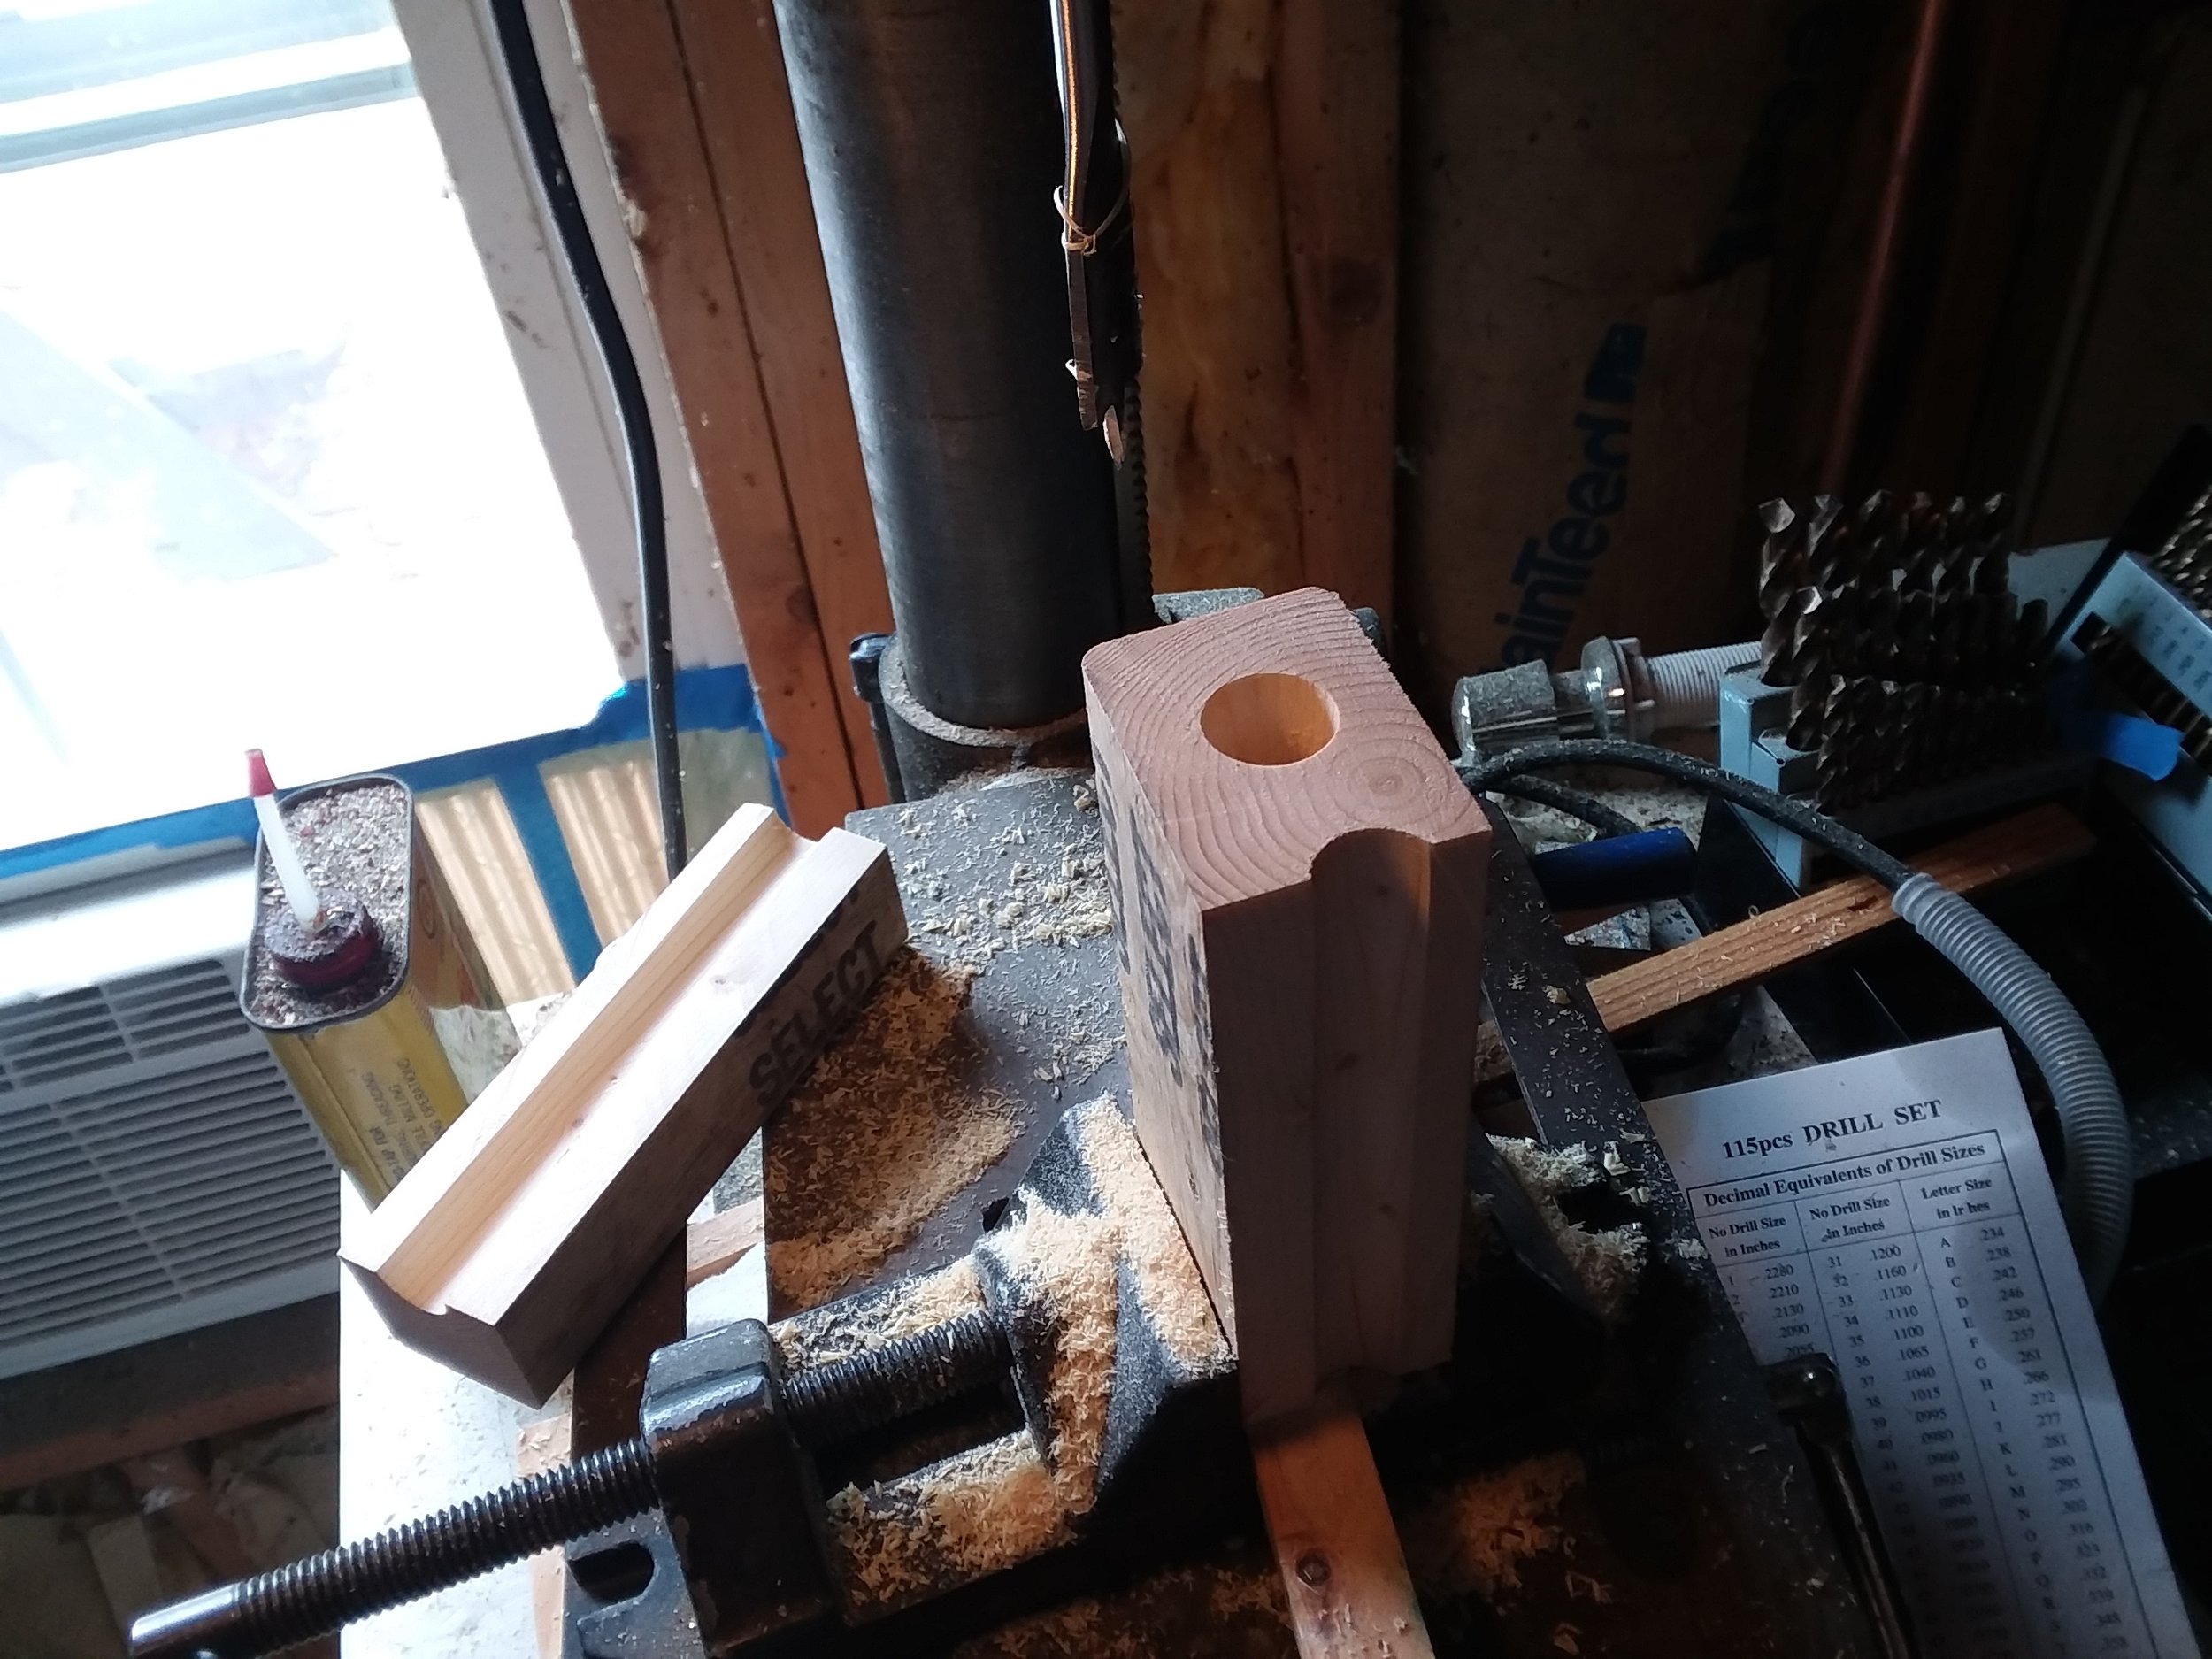
First step is simple, cut a piece of scrap wood to length and square it. Then longitudinally bore it in a diameter slightly larger than your arrow shafting. How much larger? At minimum the diameter of your arrow shaft plus twice the thickness of whatever abrasive you're going to use. For Manchu arrows, half an inch in diameter, spade bits provide an economical way to bore large diameter and very deep holes. Their minimal mass and thin shaft also improve chip clearance and reduce friction and re-cut. For this project, we went with two different sizes, [insert sizes here]
Cut the holes longitudinally, we used a table saw but a hand saw would work just as well. And we're ready to add abrasives. In this case, each half provides one sanding block. The coarsest abrasive will see the most use, so for longevity, aggressiveness of cut, and convenience we went with some pieces of expended sander belt. These will last a long time, but are quite stiff so will have to be glued into place rather than held by hand. This is perfect though because we'll have one half of each block for use with normal sandpaper, and one with ultra coarse sander belt for the initial cutting and tapering.
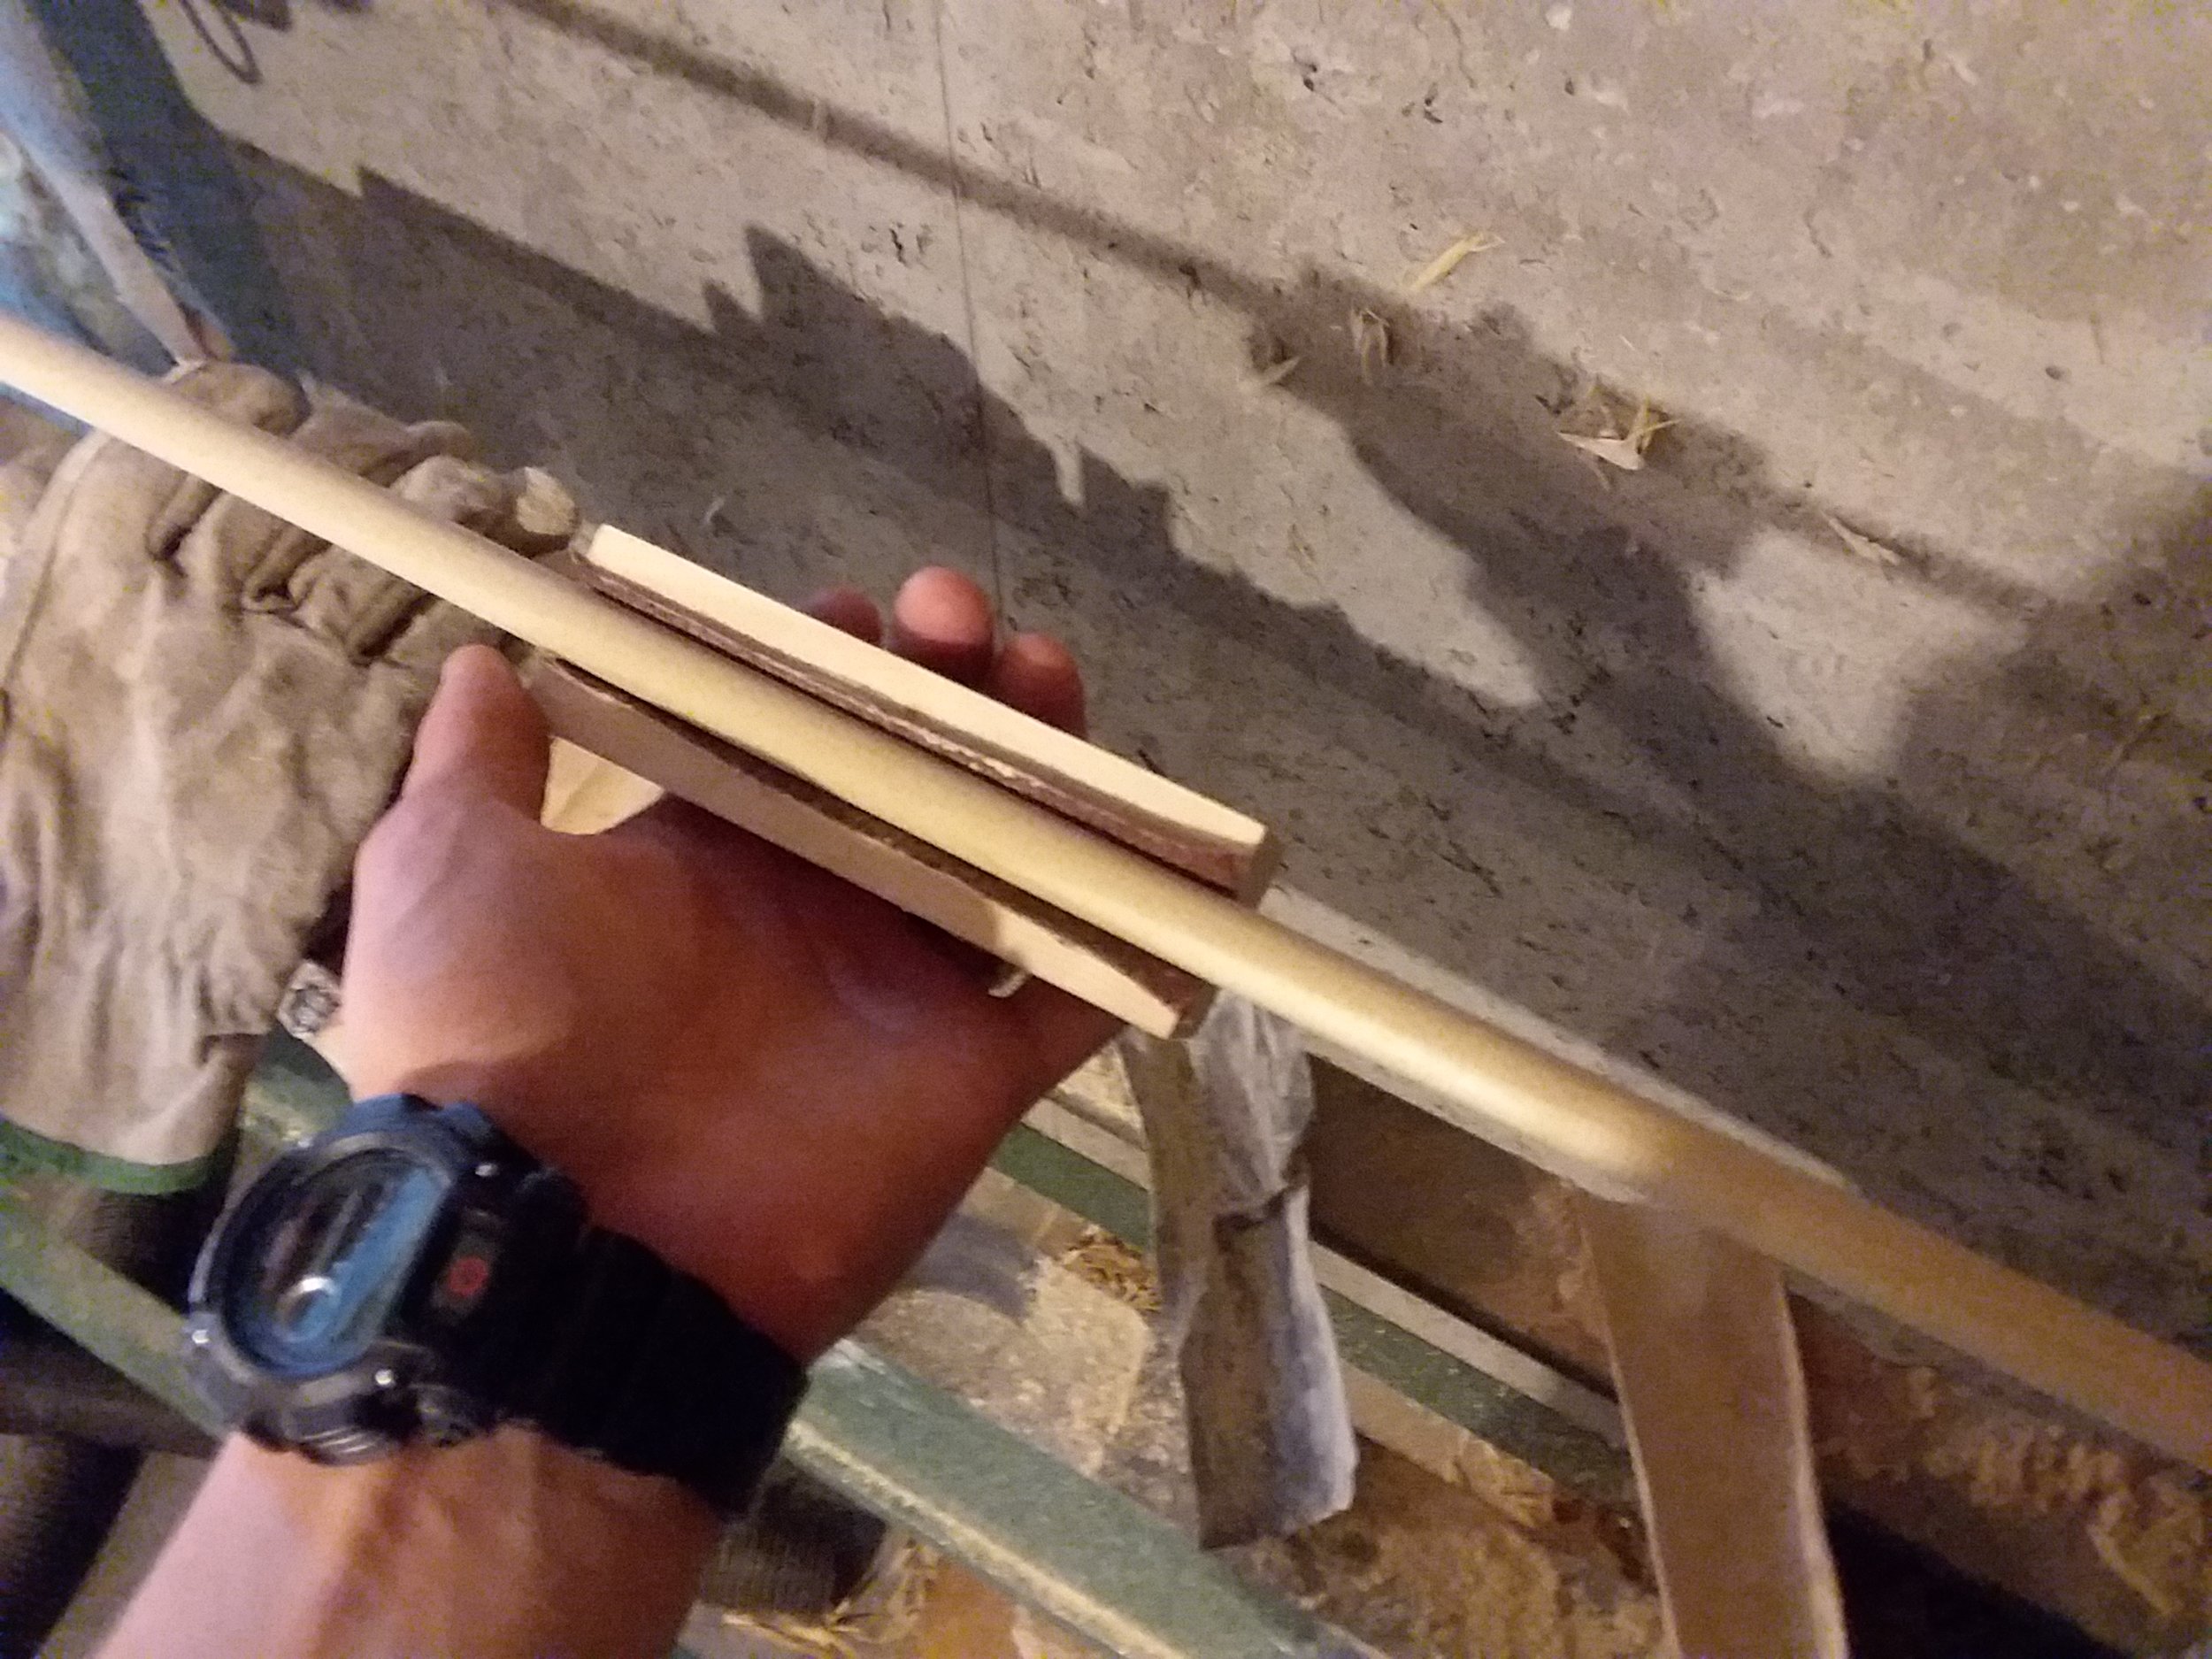
Gluing in rigid abrasives like cloth backed sander belt requires some force. Discard arrow shafting can readily provide said force and, conveniently, imparts the required radius.
The glued blocks provide the first coarse step, the empty grooves allow you to simply hold a piece of sandpaper in them, pinching at the sides, for all the finer steps. Keep in mind the first coarse stage does the lion's share of material removal, particularly if you're installing tapers.


