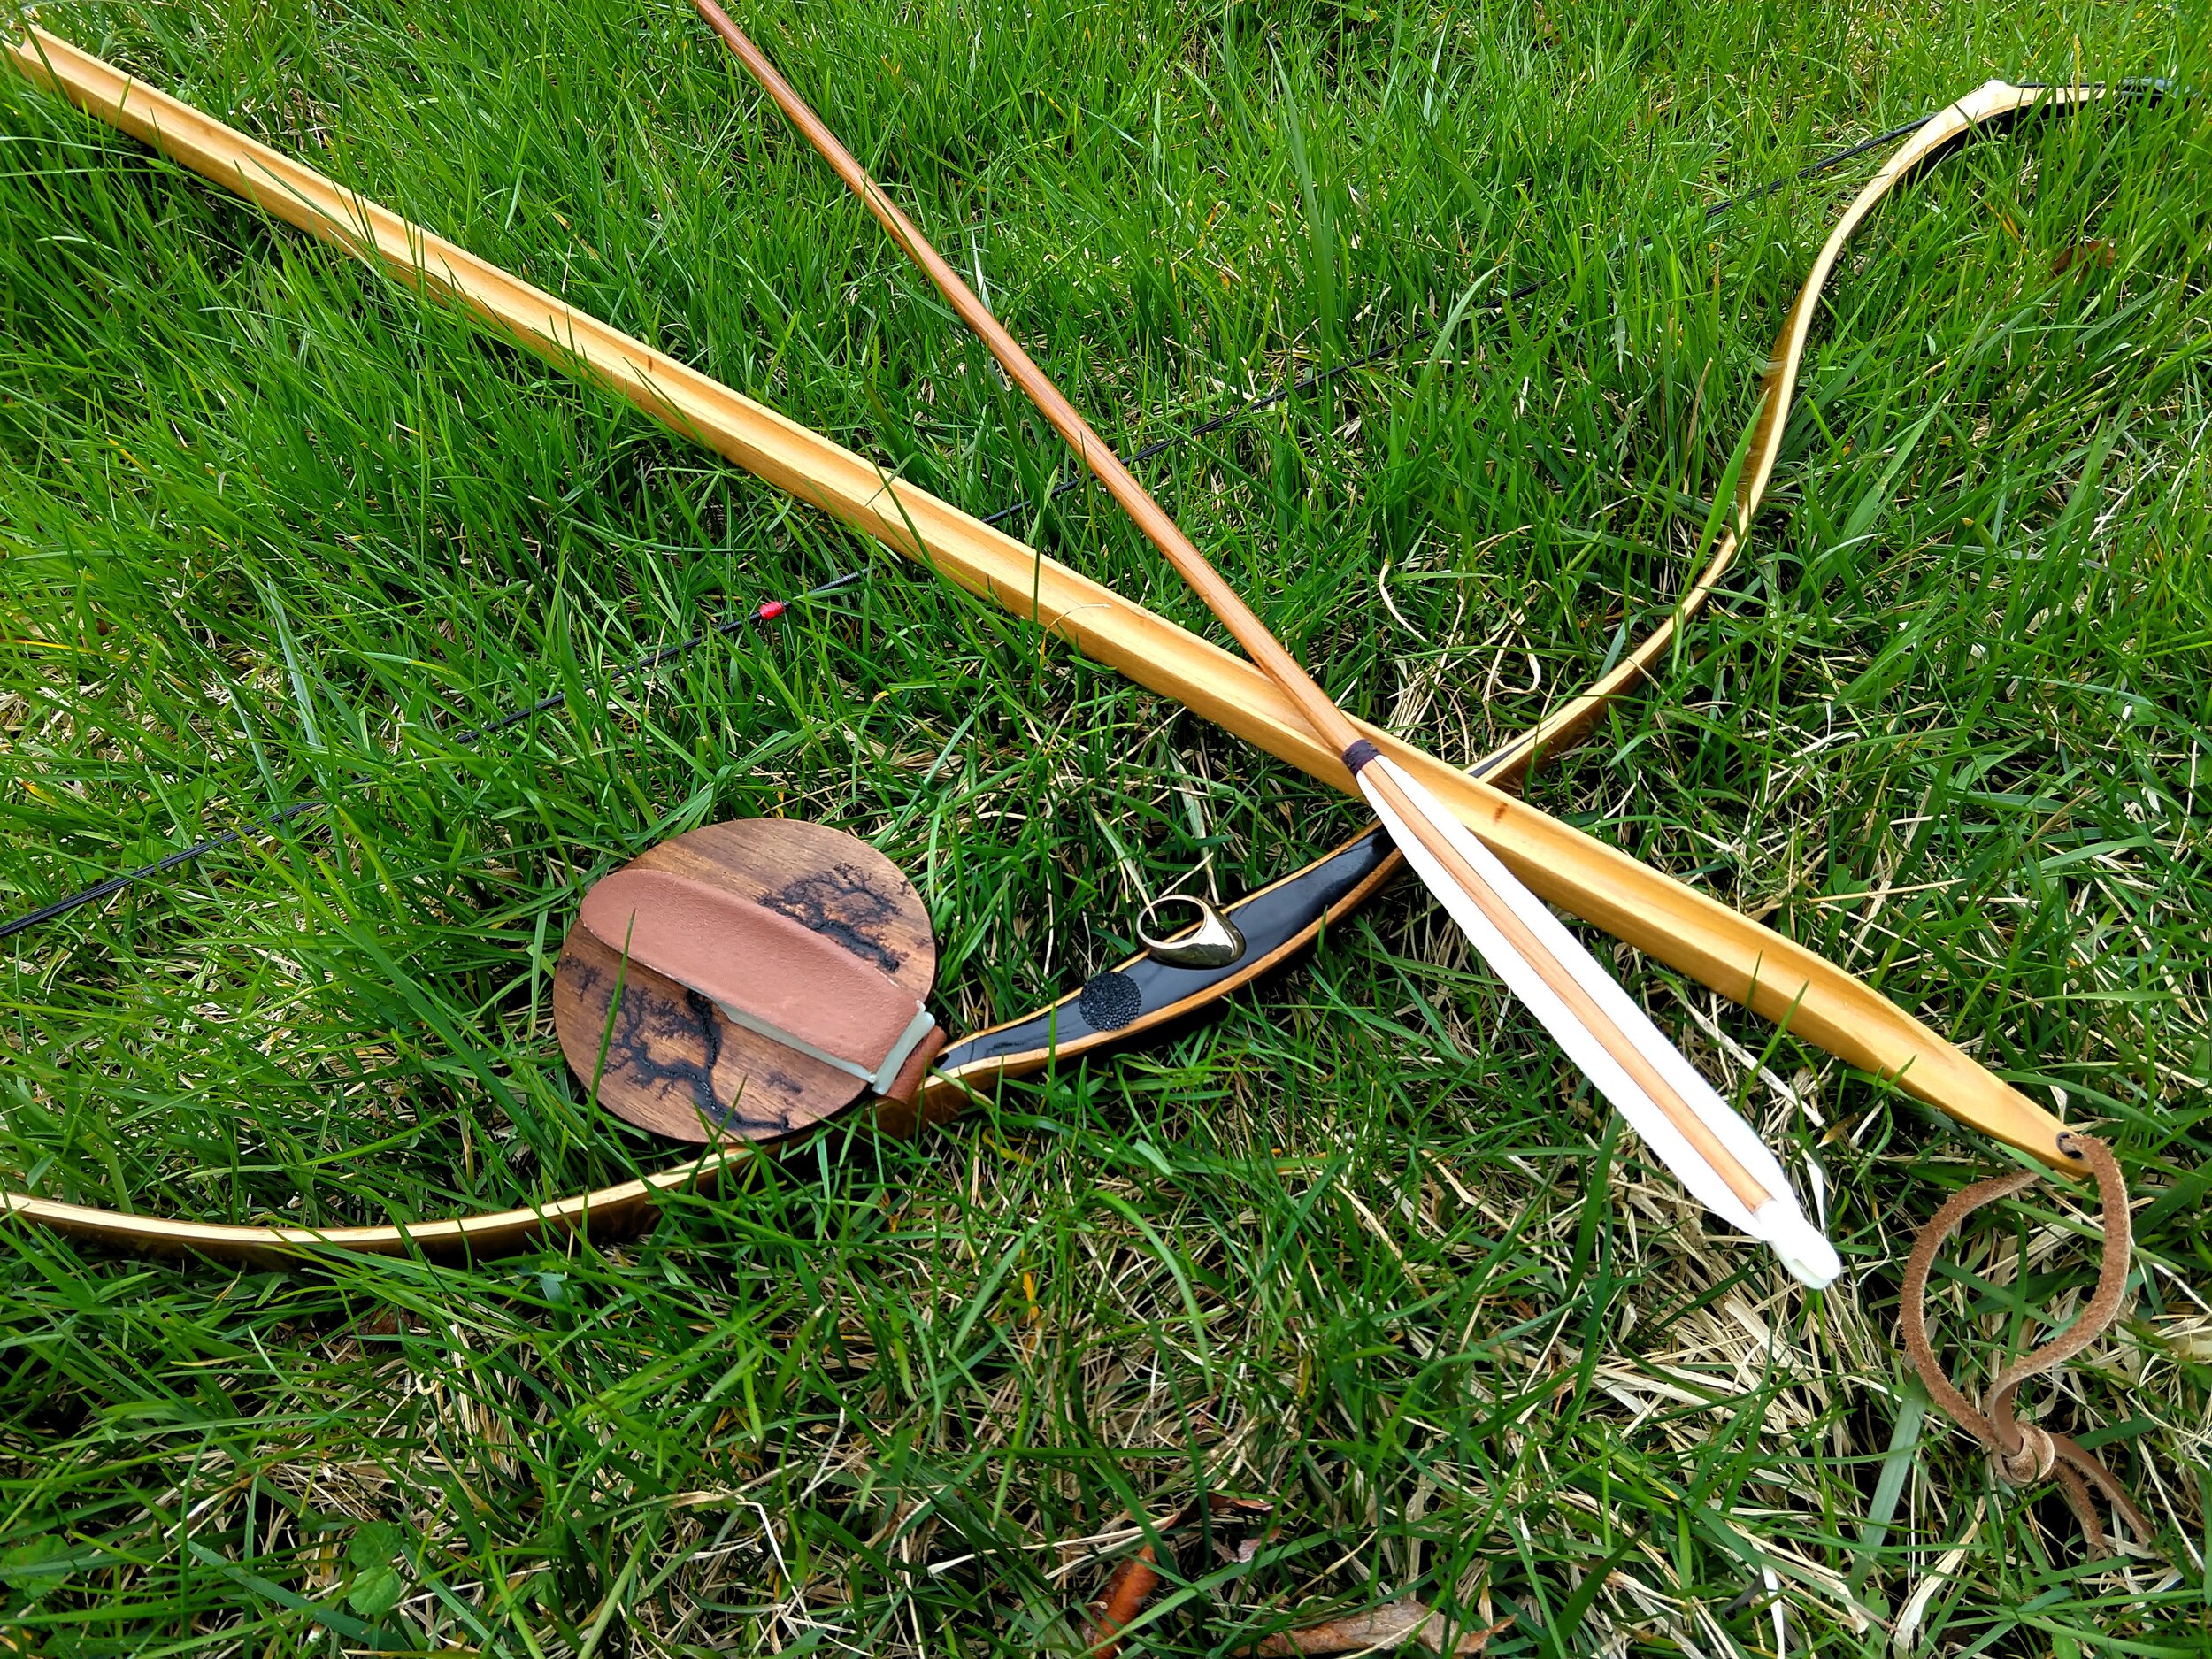
Ring Technique
Mastery is the work of a lifetime
While we are not necessarily true masters of the art, building what is likely the broadest manufacturing library of historical archer’s rings, on top of decades of ring shooting experience, offers us unique insights into design and technique. The purpose of this article is to provide some insights, written to help shooters of all skill level, to build and improve technique. As with all great things, the mastery of the fundamentals is key, and that is what this guide seeks impart. While this is meant to focus on the ring, it is important to remember that it does not exist in isolation, everything in this style of archery exists in balance and tension. Much ink can be spilled on the subject, but hopefully this brief overview can suffice.
Light as a feather
Most people are physically strong enough to pull bows substantially heavier, but even for those able to draw war-weight-bows, I can’t recommend a light ~20# bow enough. The more powerful the bow, the more focus is required on all aspects of its use. This is compounded when trying to learn a new technique or new ring by fear of a dryfire or of the string slipping prematurely. Furthermore, heavier bows are faster, making it harder to see and adjust to your mistakes. Strip all that away, let it go. Get yourself an inexpensive bow which is approximately 20 pounds, even less is fine. While we recommend the solid injection-moulded bows, often sold to ranges for rental use, other designs are fine. Keep in mind that, while a dryfire is never good, the total energy a 20# bow needs to absorb in a dryfire is the same as a comparable 65# bow need absorb when shooting arrows with 70% efficiency.
Unlearn what you think you know
All too often what gets shooters in trouble is sticking with something they think they know, they’re so sure of it, but it just isn’t true. Let it go, embrace experimentation and changes in technique. There are too many fast, small, and subtle dynamics to this style of archery to impart them all verbally or even visually. Change small things and be attentive to their effects. Regarding rings, this is especially the case for those who started with a leather thumb protector or one of the popular “southeast asian” style of rings with a prominent string guard. If you are experienced with one of these forms, you may be further from good technique than a novice. Why? Both permit or even encourage the balling of the ring hand into a fist, over-curling the thumb, crimping the string, retaining tension in the thumb after release, and hiding all of this feedback from the shooter. If you can’t shoot a ring that lacks a string guard, keeping in mind the overwhelming majority of historical designs have no string guard, you actually can’t shoot well with a thumb release full stop, you simply may not have realized it yet.
In all things balance
Without exception, all rings demand balance, some simply demand it more loudly than others. This balance I speak of is a dance between primarily the arrow, string, index finger, wrist, thumb, and ring. The ultimate goal is to place the string perfectly on the ring, neither pressing the string into the thumb nor letting the string slip off and loose prematurely. This position is determined by all the aforementioned factors. The index finger presses on the string and arrow, pushing it toward the thumb. Twisting the wrist can help to increase or reduce this pressure. The release angle of the ring, which is in turn controlled by the thumb, pushes back. In no design is this more apparent than the Manchu, where the string is sitting on a beautiful curved surface. Balance the string on the ring, practice this with a light bow until you’ve mastered it. Progress up through increasingly challenging rings until it is accomplished. If the string is pressing too hard into the thumb, try opening the thumb more. Pick a spot more distal on the index finger to place the tip of your thumb. Don’t fear a premature release, most rings want your thumb curled much less than you may think.
Pain as a teacher
Pain is never desirable, but don’t ignore and try to “power through” it, and don’t avoid it like an unpleasant subject. Pain is the ring (or bow or arrow) talking to you. Listen to it! With rings, the two most common complaints are pain from the string pressing above the ring at the joint, as discussed above, and the string striking the tip of the thumb upon release. Focus on the source of the pain, don’t repeat it until you develop blisters, find what is causing it and adjust your technique to prevent it. If the string is striking the tip of your thumb, it is a basic form fault, you’re holding tension in your thumb after release. String striking your index finger? Adjust its position relative to your thumb, and maybe give your wrist a gentle twist to clear it out of the way. String striking your bow arm? Adjust your bow grip, bow arm tension, and angle of your elbow.
Body by office, hands by keyboard
There is, all too often, the tacit expectation that you should be able to pick up a ring for the first time and comfortably draw whatever poundage bow you typically shoot. Unfortunately, this is simply not the case. Historical ring designs, by and large, load 60-80% of the draw force on the sides of the thumb knuckle. Adam Karpowicz has also noted this aspect to good ring design. Modern “painless” “southeast asian” ring designs put the majority of this force on the thumb pad. Why? Simply put, if you’re inexperienced, the pad of the thumb is much more used to bearing force, and so it seems much more comfortable. Not only does this teach bad habits and tend to result in sloppy disrupted releases, it also quickly starts to run into limitations of comfort and physical strength. The pad of the thumb is incredibly sensitive, and it is both difficult and undesirable to “harden” it such that it can tolerate the punishment of more powerful bows. There is also the issue of physical strength. Shifting the load from the knuckle to the pad necessitates moving the string closer to the tip of the thumb, as that is how the force is redistributed. Unfortunately this also substantially increases the force trying to drive the thumb open. As heavier bows are used, this starts to become insurmountable, encouraging even the use of two fingers on the tip of the thumb in a desperate attempt to bear the force. This, of course, leads to other form ills caused by too much focus on simply summoning the strength to hold on. While we can’t prove it, it is our hypothesis that this is why this is a recent design, historical archery was military in nature and the use of war weight bows was common. Thus the sides of knuckle are the ideal place to bear the load. Despite modern man by and large having “soft hands,” this area can readily be toughened and will find much less difficulty in bearing the load of the string. Give yourself time, start with low poundage bows, and slowly work your way up. You absolutely can, and will, make it to your poundage goal if you set your mind to it. It does however take time and practice.
Relax and breath
Never forget to breath. Take a moment to relax and breathe between each shot. Focus on where you are and what you are doing. Take some time to focus specifically on what you’re failing to relax upon release. While some techniques require tension upon release and others a complete relaxation, all techniques want the part of the hand not involved in the draw to remain fully relaxed. While we already discussed how important it is to allow the thumb to relax so the string may drive it open, it is equally important that the rest of the hand not involved in the holding the string be completely relaxed throughout the draw and release. The sympathetic clenching of the entire draw hand is all too common a form fault. A good way to cure it is practice opening the fingers not involved in the draw, typically this is the middle, ring, and pinkie fingers, or even wiggling them while pulling the bow. If you’re having issues relaxing your thumb upon release, letting the string drive it open and out of the way, this little trick may help you with that as well.
Mirror mirror on the wall
Watch yourself shoot, have a friend watch you shoot. Thanks to technology we all carry a video camera in our pockets. What an amazing thing almost all of us simply take for granted. It can be a great way to study your form. Have others critique it as well.
A pain in the other thumb
While this guide is meant to primarily cover rings, this is a form fault I see all too often, wearing some sort of leather glove or thumb protector on the bow hand. This should not be done as it is unnecessary. Remember all things should be in balance, so too is this true of the bow. Balanced though does not mean centered. Composite bows are balanced and drawn asymmetrically, so too should your nocking point be asymmetric, and positioned to place the arrow at the center of thrust of the bow. The arrow slamming into your thumb is doing so because your arrow is being nocked below the center of thrust of the bow, and so is actually being driven downward at the rear. Raise your nocking point up. A general guide is, balance the bow on your index finger with the upper limb toward your pinkie. Your nocking point is typically around where your pinkie touches the string. The best way to find it though is to practice either at the near-bag (a target which retain’s arrow impact angle), shooting arrows without fletching, or by placing masking tape covered in marking fluid or ink over your arrow pass. In all cases the goal is to see, on the vertical axis, whether the arrow is passing the bow straight or not. When it is, you’ll find it does not smash or cut your finger and you can shoot comfortably indefinitely, without any sort of thumb protection.